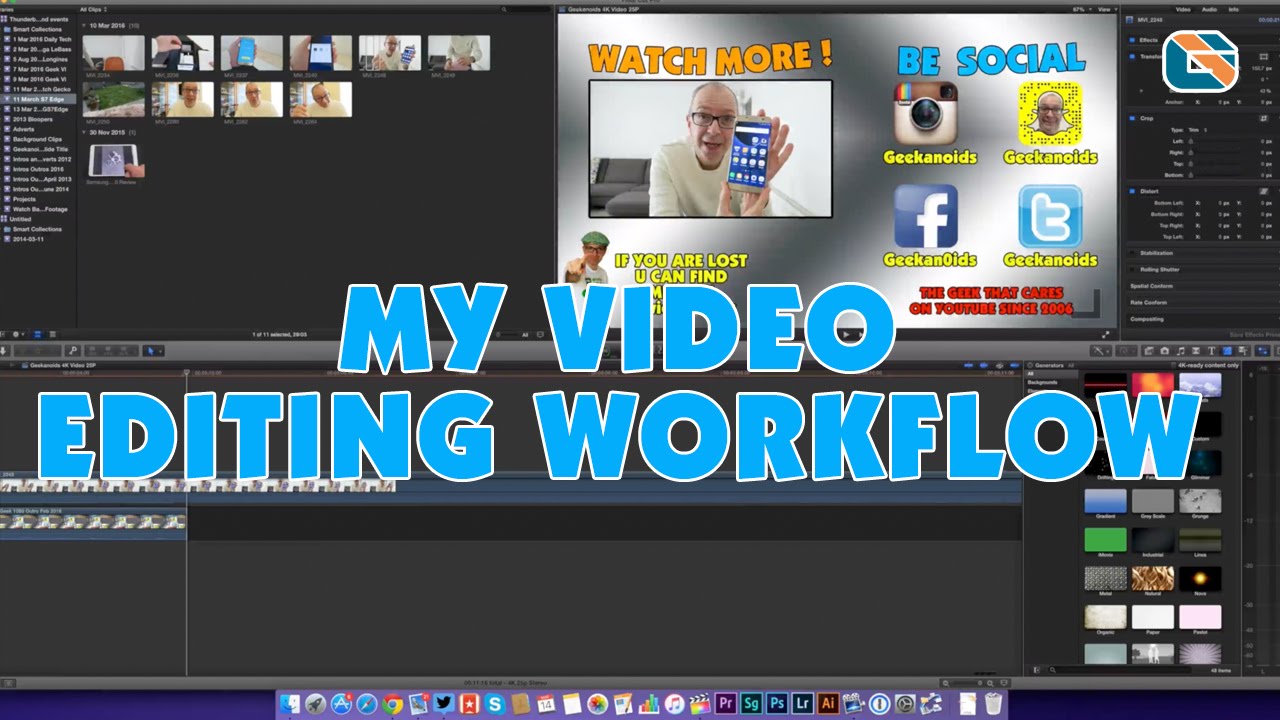
My Workflow: Editing YouTube Videos with Free Tools
Creating engaging YouTube content that resonates with your audience, especially on platforms like Facebook, requires a strategic approach. It’s not just about filming great videos; effective post-production is key. This means mastering the art of video editing. Fortunately, you don’t need expensive software to achieve professional results. This article outlines my workflow for editing YouTube videos using entirely free tools. I’ll share my experience, tips, and tricks to help you elevate your video editing game without breaking the bank. Remember, consistency and quality are crucial for building a strong online presence. Let’s dive into the world of free video editing! I’ve been editing videos for years, and I’m confident this workflow will help you too.
Many creators struggle with the cost of professional video editing software. The good news is, many free options exist that offer surprisingly robust features. This guide focuses on utilizing these tools to achieve high-quality results. This approach allows you to invest more time in creating compelling content rather than worrying about software licenses.
Learning to edit videos effectively can significantly impact your channel’s growth. Mastering free tools not only saves money but also allows for flexibility and experimentation. This freedom empowers you to discover your unique editing style and improve your overall content strategy. Don’t underestimate the power of effective video editing in boosting engagement.
This process is designed to be accessible to everyone, regardless of their technical expertise. We’ll cover each step in detail, providing clear instructions and helpful tips along the way. Even beginners can follow along and achieve impressive results. Remember, practice makes perfect, so don’t be afraid to experiment!
This workflow prioritizes efficiency and ease of use. We’ll focus on tools that are user-friendly and intuitive, minimizing the learning curve. The goal is to empower you to create high-quality videos quickly and efficiently. Let’s start creating amazing videos together!
This guide emphasizes creating videos optimized for Facebook, focusing on the platform’s unique characteristics and audience preferences. We will discuss aspects like ideal video length, thumbnail design, and caption strategies to maximize reach and engagement. Let’s get started!
This detailed walkthrough will guide you through my complete video editing process, from initial import to final export. I will share my personal preferences and explain why I choose specific tools and techniques. My aim is to provide a comprehensive and practical guide for anyone looking to improve their video editing skills.
1. Choosing the Right Free Video Editor
The first step in your journey is selecting the right free video editor. Several excellent options exist, each with its own strengths and weaknesses. I personally recommend DaVinci Resolve (free version) for its powerful features and intuitive interface. However, other great options include HitFilm Express and OpenShot. Consider your specific needs and technical skills when making your choice. Experiment with a few different editors to find the one that best suits your workflow. Don’t be afraid to try several before committing to one.
It’s essential to understand the limitations of free software. While they offer impressive functionality, they might lack some advanced features found in paid alternatives. However, for most YouTube creators, the free options are more than sufficient to produce high-quality videos. Focus on mastering the tools available to you before considering upgrades.
Remember, the best video editor is the one you’re most comfortable using. Don’t get bogged down in comparing features; instead, choose an editor that feels intuitive and allows you to work efficiently. Spend some time exploring the interface and experimenting with different tools.
Learning the basics of your chosen editor is crucial. Take advantage of the many tutorials and online resources available. Familiarize yourself with the key features, such as trimming clips, adding transitions, and adjusting audio levels. The more proficient you become, the faster and more efficiently you can edit your videos.
Once you’ve chosen and familiarized yourself with your video editor, you’re ready to start importing your footage. This is where the real fun begins!
2. Importing and Organizing Your Footage
Before you start editing, organize your footage. This crucial step saves you time and frustration later. Create a well-structured folder system to store your video clips, audio files, and images. Use descriptive filenames to easily identify each asset. Proper organization is essential for a smooth workflow. Think of it as preparing your ingredients before starting to cook a delicious meal.

Efficient file management is key to a streamlined editing process. Avoid messy file structures that can lead to wasted time searching for specific clips. A well-organized project folder is your secret weapon for efficient video editing.
Consider using a cloud storage service like Google Drive or Dropbox to back up your project files. This protects your work against accidental data loss and allows you to access your files from multiple devices. This is especially important for larger projects.
Once your footage is organized, import it into your chosen video editor. This process varies slightly depending on the software you are using, so refer to the editor’s documentation if needed. This step is straightforward and usually involves dragging and dropping files into the editor’s timeline.
Now that your footage is imported, you can start the creative process.
3. The Editing Process: Cutting, Trimming, and Sequencing
Now comes the fun part: editing your raw footage into a compelling narrative. Start by roughly assembling your clips in the order you envision. This initial cut is a chance to get a feel for the flow of your video. Don’t worry about perfection at this stage; focus on getting the core structure down. It’s like building the skeleton of your video before adding the details.
Next, refine your cuts. Trim away unnecessary footage and ensure smooth transitions between clips. Pay attention to the pacing of your video. Vary the length of your shots to maintain viewer engagement. Avoid long, static shots that can bore your audience.
Use B-roll footage to enhance your video. B-roll is supplementary footage that adds visual interest and context to your main shots. It can be anything from establishing shots to close-ups of relevant objects. Think of it as adding flavor and texture to your video.
Adding transitions can improve the flow of your video. However, avoid overusing them. Simple cuts are often the most effective. Experiment with different transition types to find what works best for your style. Remember, less is often more.
Remember to regularly save your progress!
4. Adding Music and Sound Effects
Adding music and sound effects significantly enhances the viewer experience. Choose royalty-free music and sound effects to avoid copyright issues. Websites like YouTube Audio Library and FreeSound offer a vast selection of high-quality audio. Remember to select music that complements the mood and tone of your video. Avoid using music that is too loud or distracting.
Ensure your audio levels are balanced. Avoid sudden loud or quiet parts. Use audio editing tools to adjust the volume and equalize the sound. Clear audio is essential for viewer engagement. Poor audio can significantly detract from even the best-edited video.
Experiment with different sound effects to enhance specific moments in your video. Sound effects can add emphasis, create tension, or evoke emotion. Use them sparingly and purposefully. Too many sound effects can be overwhelming.
Remember to always credit the creators of any music or sound effects you use. This shows respect for their work and avoids potential copyright issues.
Your video is coming together beautifully!
5. Color Correction and Grading
Color correction ensures consistent color throughout your video. Adjust brightness, contrast, and saturation to achieve a balanced and pleasing look. Color grading adds a stylistic touch to your video. Experiment with different color palettes to find one that complements your content. Remember, consistency is key.
Many free video editors offer basic color correction tools. Learn how to use these tools to enhance the visual appeal of your videos. Even subtle adjustments can make a big difference.
Don’t be afraid to experiment with different color grading styles. However, remember to maintain a consistent look throughout your video. Avoid drastic color changes that can distract the viewer.
Consider the overall mood and tone of your video when choosing a color palette. Warm colors can evoke feelings of happiness and comfort, while cool colors can create a sense of calm or mystery.
Now, you’re almost ready to share your masterpiece!
6. Adding Text and Graphics
Adding text and graphics can further enhance your video’s message. Use text to highlight key points, provide context, or add a personal touch. Use graphics to add visual interest or illustrate concepts. Keep your text and graphics simple and easy to read. Avoid cluttering your video with too much information.
Choose fonts that are easy to read and consistent with the overall style of your video. Use a variety of text sizes and styles to create visual hierarchy. Make sure your text is large enough to be easily read on various devices.
When using graphics, ensure they are high-quality and relevant to your content. Avoid using low-resolution images or graphics that are visually distracting. Your graphics should complement your video, not detract from it.
Remember to keep your text and graphics concise and to the point. Avoid overwhelming your audience with too much information. Less is often more.
Finally, it’s time for the final touches!
7. Exporting Your Video
The final step is exporting your video. Choose the appropriate video format and resolution for your target platform (e.g., YouTube, Facebook). Higher resolutions generally result in better quality but also larger file sizes. Consider your audience and their internet connection speeds when choosing a resolution. YouTube and Facebook offer recommended settings that you should follow.
Before exporting, review your video one last time to catch any errors or inconsistencies. This final check is crucial to ensure your video is polished and professional.
Once you’re satisfied, export your video and share it with the world! Congratulations on completing your video editing project.
In conclusion, creating high-quality YouTube videos using free tools is entirely achievable. By following this workflow and utilizing the free software options available, you can significantly enhance your video production without incurring significant costs. Remember that consistent practice and experimentation are key to mastering the art of video editing.
Want to share your own free video editing workflow? Let us know in the comments below! Don’t forget to like and subscribe to stay updated on more video editing tips and tricks! Share this article with your fellow creators and help them elevate their video game. Check out more helpful resources on our website: softwaretesting.biz.id


