How I Designed My Logo for Free Using Canva
Designing a logo can feel like climbing Mount Everest. It seems daunting, expensive, and reserved for professional designers. But what if I told you I conquered that mountain, completely free, using only Canva? This isn’t some magic trick; I’ll walk you through the entire process, showing you how accessible and surprisingly easy logo design can be. My journey started with a simple idea and a free Canva account. I didn’t have any prior design experience, proving that anyone can create a professional-looking logo with a little effort and the right tools. This guide proves that even beginners can achieve amazing results with the right approach and free resources. Let’s dive into how I designed my logo using Canva’s free features.
I always believed a strong logo is the cornerstone of any brand. It’s the first impression, the visual shorthand that instantly communicates your identity. Before starting, I spent time brainstorming, sketching ideas on paper, and defining my brand’s personality and target audience. This crucial groundwork ensured my final logo accurately reflected my vision. Remember, your logo is more than just a pretty picture; it’s a visual representation of your brand’s essence.
My initial designs were, let’s just say, rough around the edges. I experimented with various fonts, colors, and shapes, often feeling overwhelmed by the sheer number of options. This iterative process, however, proved invaluable. Each attempt taught me something new about design principles and the software itself. Don’t be afraid to experiment; that’s how you discover your unique style.
Canva’s user-friendly interface was a game-changer. It felt intuitive, even for a complete novice like myself. The abundance of templates and pre-designed elements simplified the process significantly, providing a solid foundation for my creative explorations. I leveraged Canva’s extensive library of free fonts and graphics, ensuring I stayed within my budget.
The key to success was breaking down the design process into manageable steps. I started with the core elements—the logo’s central image or text—before adding details. This helped maintain focus and prevent feeling overwhelmed. I continually revisited my initial brand guidelines to ensure consistency and alignment with my overall vision.
Ultimately, designing my logo felt less like a chore and more like an enjoyable creative journey. The entire process, from initial brainstorming to final export, took me less than a week, proving the accessibility and efficiency of Canva for DIY logo design. This experience empowered me, demonstrating that anyone can create a compelling logo without needing expensive software or professional designers.
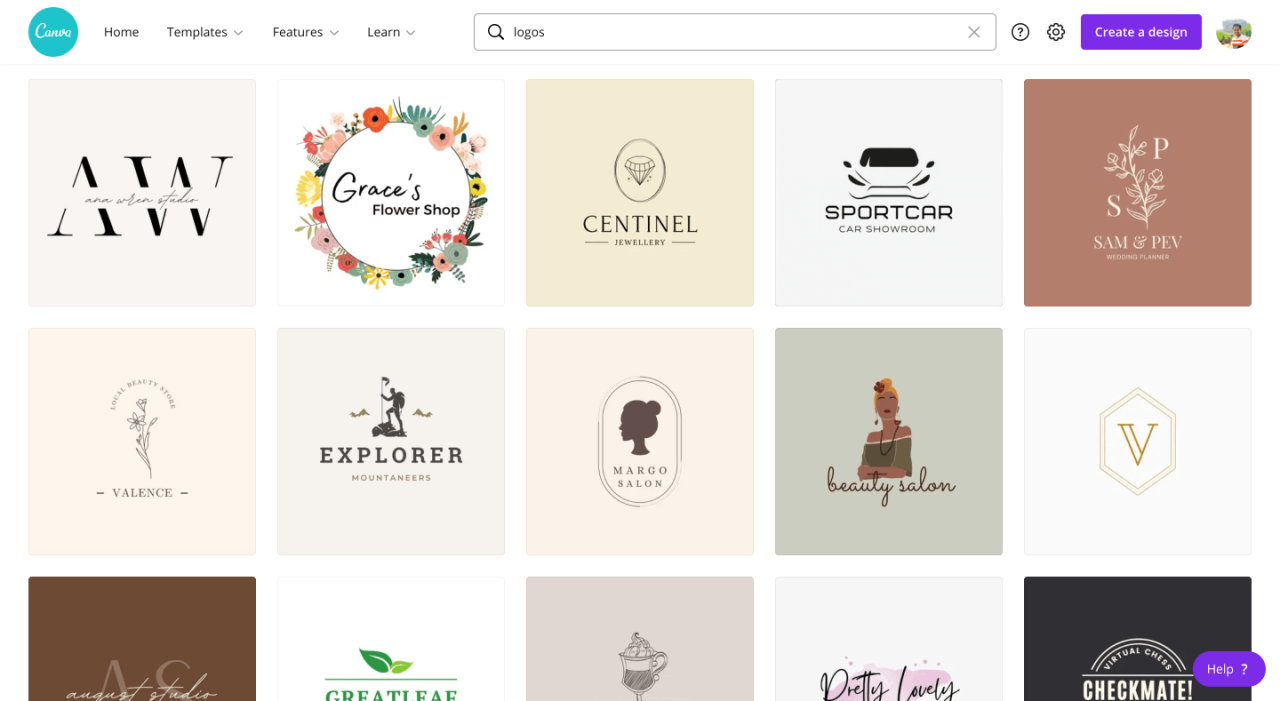
Choosing the Right Canva Template
Canva offers a vast library of pre-made templates, many of which are completely free. This is a fantastic starting point, especially for beginners. I spent some time browsing various categories, focusing on templates that aligned with my brand’s aesthetic and industry. Don’t be afraid to adapt and modify these templates to suit your unique needs; they’re meant to be a springboard for your creativity.
I initially felt overwhelmed by the sheer number of options. However, filtering by style, color palette, and industry helped narrow down the choices significantly. I recommend focusing on simplicity and clarity; a clean, uncluttered design is often more effective than a complex one. Remember, your logo needs to be easily recognizable at various sizes.
Once I found a few templates that caught my eye, I started experimenting with different variations. I tweaked colors, fonts, and layout, iteratively refining the design until it felt right. This iterative process is crucial; don’t be afraid to experiment and make mistakes; it’s all part of the learning process.
Canva’s intuitive drag-and-drop interface made it easy to manipulate elements and experiment with different compositions. I utilized the built-in tools to adjust sizes, positions, and layering to achieve the desired visual hierarchy. This ability to easily experiment is a key advantage of using Canva.
The ability to preview the logo at different sizes (e.g., on a business card, website, or social media) was invaluable in ensuring its scalability and overall effectiveness. This functionality helped me make informed design decisions that prioritized clarity and consistency across various platforms.
Selecting the Perfect Font
The font you choose significantly impacts your logo’s readability and overall aesthetic. Canva provides access to a wide variety of fonts, both free and premium. I started by exploring free fonts that aligned with my brand’s personality. Consider whether you want a font that’s modern, classic, playful, or sophisticated.
I experimented with different font pairings, testing various combinations to find the perfect balance. Remember to consider legibility; your logo needs to be easily readable at various sizes. Avoid using too many fonts, as this can make your design look cluttered and unprofessional. Less is often more in logo design.
One crucial aspect I focused on was the font’s weight. A bold font can convey strength and authority, while a lighter font might project elegance or sophistication. I experimented with different weights to find the one that best represented my brand’s message.
Canva’s font preview feature allowed me to see how the chosen font looked in different sizes and contexts. This feature proved invaluable in making informed decisions and ensuring the font was suitable for my logo’s intended applications.
Remember to check the font license before using it. Ensure the font is free for commercial use to avoid any legal issues later on. Canva clearly indicates the licensing information for each font, making it easy to comply with copyright regulations.
Mastering Color Psychology
Color plays a vital role in logo design; it evokes emotions and associations. Canva’s color palette tools made it easy to experiment with different color combinations. I researched color psychology to understand the impact of various colors on my target audience. For example, blue often represents trust and stability, while green suggests growth and nature.
I started by selecting a primary color that best represented my brand’s essence. Then, I chose secondary and tertiary colors to create a harmonious and balanced palette. Canva’s color picker allowed me to easily find complementary and analogous colors, ensuring visual consistency.
I also considered the color’s accessibility. It’s crucial to ensure your logo is visible and legible to people with different levels of color vision. Canva’s tools helped me check the color contrast ratio, ensuring readability for everyone.
Experimenting with different color schemes was fun. I created various versions of my logo with different color palettes, comparing them side-by-side to see which one resonated most with my brand’s identity.
Remember that color choices can significantly impact your logo’s effectiveness. Choose colors that align with your brand’s personality and resonate with your target audience.
Optimizing Your Logo for Different Platforms
Once I had finalized my logo design, I made sure to optimize it for different platforms. Canva provides tools to download your logo in various formats, including PNG, JPG, and SVG. The SVG format is particularly useful for scalable vector graphics, ensuring your logo looks sharp at any size.
I prepared different versions of my logo, optimized for various applications. For instance, I created a version with a transparent background for use on websites and social media. I also created a version with a solid background for print materials like business cards.
Canva’s download options make this process incredibly straightforward. Simply select the desired format and resolution, and you’re ready to go. This ensures your logo looks consistent and professional across all platforms.
Remember to consider the size requirements for different platforms. For example, social media platforms often have specific size recommendations for profile pictures and cover photos. Preparing your logo in the correct size from the start will save you time and effort.
This step is crucial for ensuring your logo looks its best everywhere it’s used. By optimizing for various platforms, you maintain consistency and professionalism across your branding.
Adding Finishing Touches
After finalizing the core design, I added subtle finishing touches to refine the logo. This included adjusting the spacing between elements, refining the curves of shapes, and ensuring overall balance and harmony. These small details can significantly impact the overall impact of the logo.
I paid close attention to the negative space—the empty areas around the design elements. Effective use of negative space can add visual interest and enhance the logo’s overall aesthetic. Canva’s tools made it easy to experiment with different spacing and arrangements.
I also considered the logo’s overall simplicity. A clean and uncluttered design is often more effective than a complex one. Less is often more when it comes to logo design.
Canva’s zoom feature allowed me to inspect the design at high magnification, ensuring all elements were perfectly aligned and refined. This meticulous attention to detail is essential for creating a professional-looking logo.
By adding these finishing touches, I ensured my logo was polished and professional, ready for use across all my branding materials.
Exporting and Sharing Your Logo
Once I was completely satisfied with my logo design, exporting it was a breeze. Canva allows you to download your logo in various formats, including high-resolution PNG and JPG files, suitable for both digital and print use. I also downloaded an SVG file for maximum scalability.
I carefully reviewed the different download options to ensure I chose the best format for my specific needs. Canva clearly labels each format, making the selection process straightforward. This attention to detail ensures your logo maintains its quality across various applications.
I then uploaded my logo to my various online platforms, including my website and social media profiles. The high-resolution files ensured my logo looked crisp and professional everywhere it appeared.
This final step completes the process, making your logo ready to represent your brand across all your channels. Remember to save multiple versions of your logo, optimized for different uses.
In conclusion, designing my logo using Canva was a surprisingly straightforward and rewarding experience. The platform’s intuitive interface, free resources, and user-friendly tools made the entire process accessible even for a design novice like myself. I highly recommend Canva for anyone looking to create a professional-looking logo without breaking the bank.
Want to share your own Canva logo design journey? Share this post and let us know in the comments! Don’t forget to like and follow for more design tips and tricks! Learn more about design and other tech topics at softwaretesting.biz.id


